You’re not done yet, bike racer friend. Suit up! Cyclocross may have ended, but your competition is stoking their fire and forging some serious metal this off-season with leg-crushing, fat bike races.
Before you pedal your monster truck to the starting line, you should know that, like in any unnatural endeavor that challenges mother nature, snow bike racing favors the prepared.
So let’s do that. Below are some fat bike racing tips you should know before your winter adventure ride:
1. Find a Fat Bike Race
First off, you need to find a fat bike race. A few good places to shop around for a race are Fat-Bike.com and Mountain Bike Radio, but your best bet is still going to be your local bike shops event calendar.
If you’re new to the sport, we recommend starting with the shortest distance first so you can familiarize yourself with the disciplines and elements of this type of bike racing. A fat bike race usually has an average distance of 15 to 20 miles, depending on the event and its location.
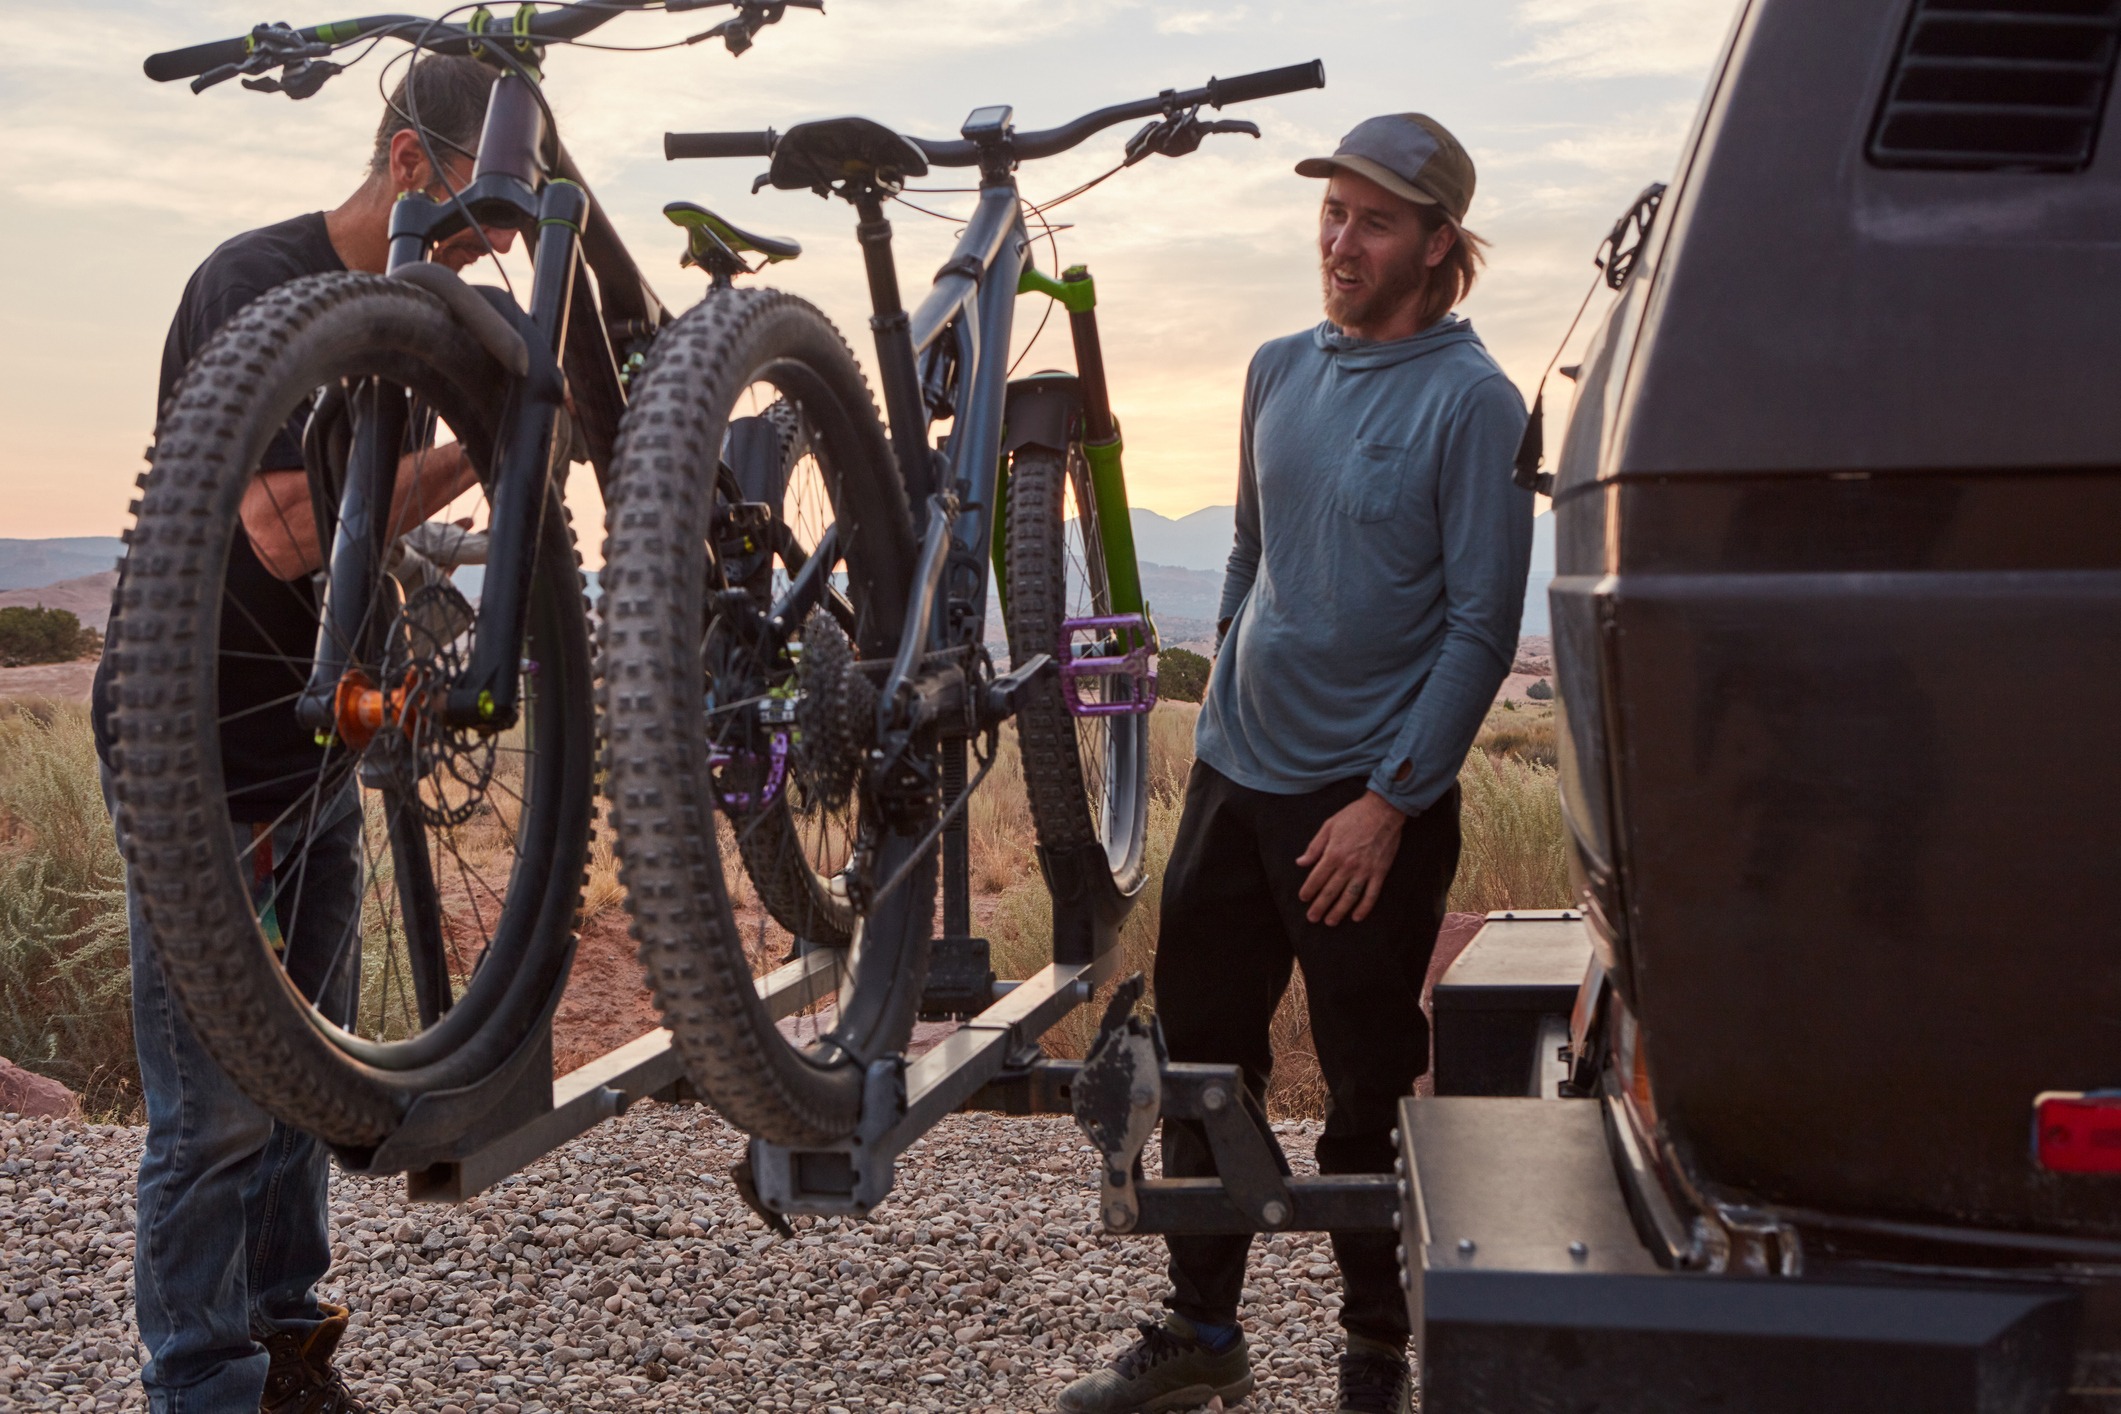
Once you pinpoint a race, make sure that it fits your budget. When you consider the race fee, figure in your transportation, accommodation, and other expenditures. And finally, choose winter bike races that are organized by a person or bike shop with a proven track record of setting up such an event.
While checking out different races, look online for comments or blog posts about the events. This can give you insight on how to prepare and other race-specific advice. The fat bike community is great for sharing information. They’ll also share hotels and restaurants or the best way to reach the starting line.
Check out last years race results. It can give you an idea of how many people participated. For your maiden voyage, you might want a smallish field. But be warned, it can also mean that it’s new or not just as popular among area riders. A race with more riders will have more credibility. They could also have a broader ability level from beginner to expert. With larger events, you also experience more of a party atmosphere that’s sure to get the heart pounding. Looking at the results and times can also give you a sense of how long it takes. Good to know if you’re racing in sub-zero temps. As you probably guessed, snow miles are different than asphalt miles. When looking at the times, also pick out a target goal.
2. Train Year Round
As with anything, practice makes perfect. While you may not be able to practice snow biking during the summer and fall months, any cycling during the warmer months will keep you primed and less prone to injury.
Find a good training plan online and stick with it. If you have less time and aren’t really looking for speed at a race, just ride your fat bike when time permits. Taking your fatty out for a spin every once in a while will help you stay comfortable in the saddle. Also, you need to get used to the sluggish pace of fat bike races, which are 5 miles per hour slower than your typical road bike pace.
Training with a friend or club will work towards your advantage. Not only will you have a group to share tips and advice, but they also help you stay motivated and committed to training regularly.
3. Experiment with Tire Pressure
Reading the snow type and trail conditions is a big part of the snow bike competition. If your tire is too inflated for the conditions, you could have more crashes and less control. Meanwhile, with low PSI, you sacrifice speed. See the dilemma?
While there is no formula on calculating how much pressure your fat bike needs, the average pressure required is usually around 4 to 8.5 PSI, depending on several factors such as your weight, the bike’s design, and the condition of the trails. For packed snow and more solid groomed trails, a PSI of 6-7 should work. The softer snow and slushy stuff might need a 4-5 PSI. Many riders will have a lower PSI for the front and a slightly higher PSI for the rear tire.
So our advice here is to experiment with tire pressure. Even if you feel you have it dialed in. Find some different trail conditions, tweak the PSI, and see how it feels.
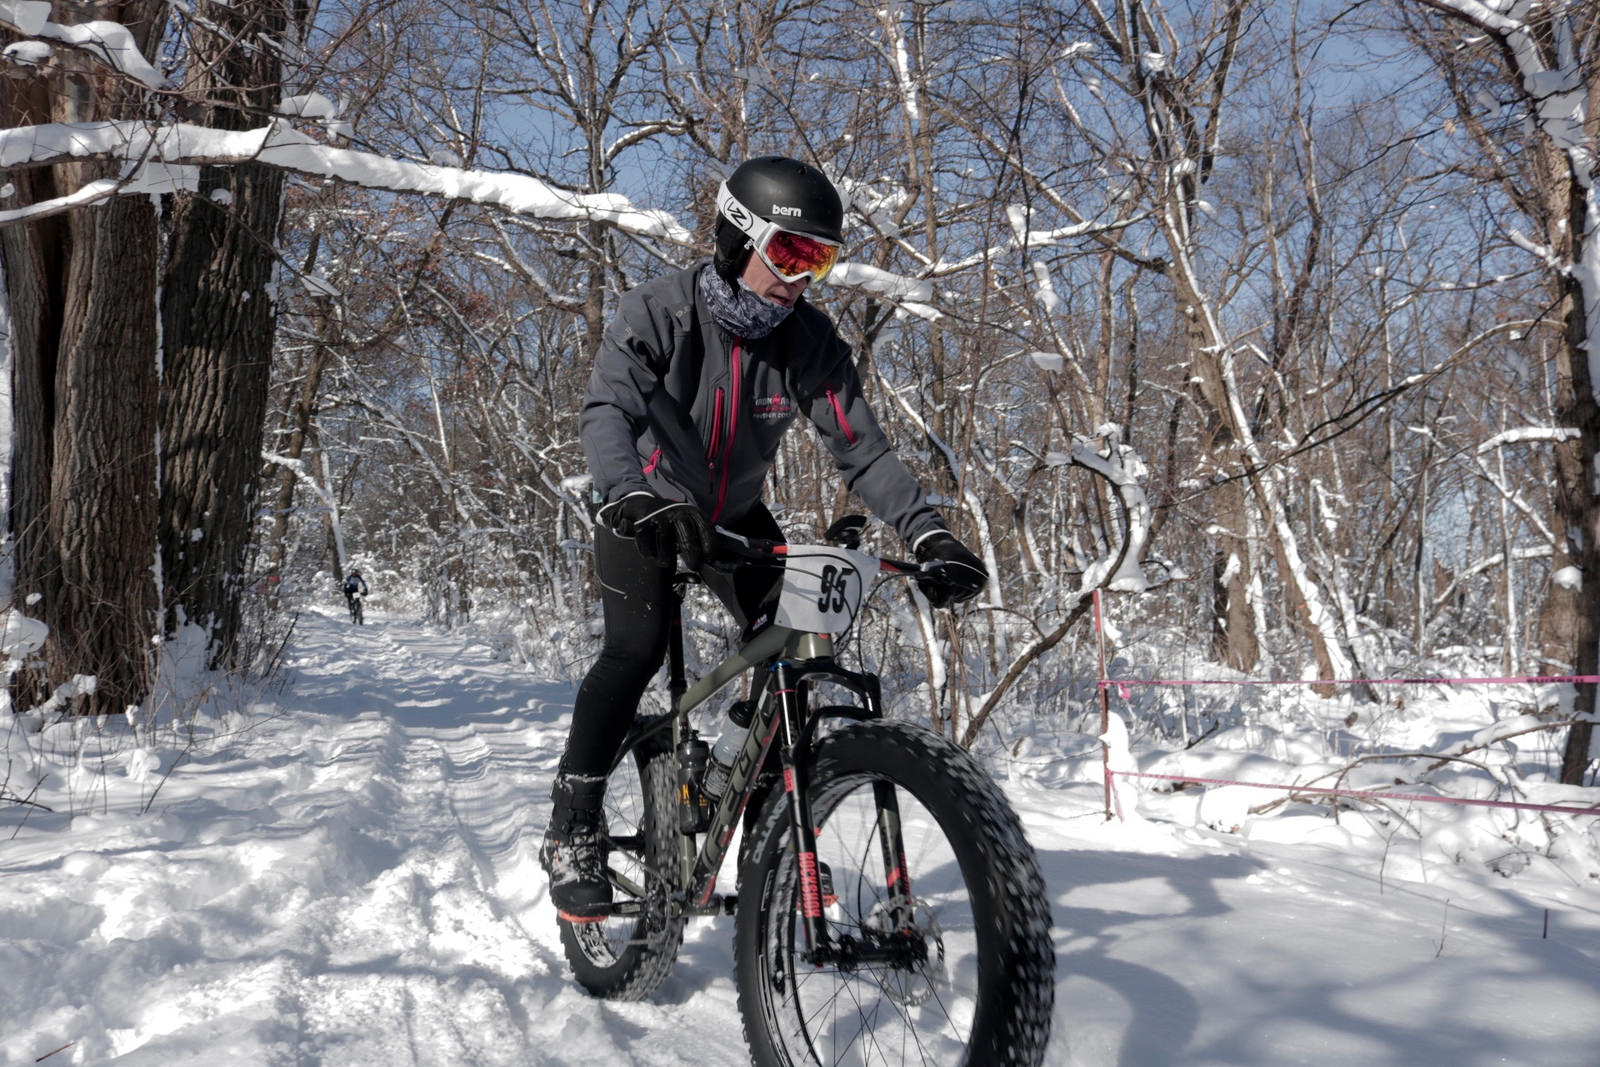
4. Invest in Winter Riding Gear
The gear you choose might sound basic, but like tire pressure, the conditions on race day will determine what you choose. You don’t want to overdress and be weighted down or overheat, but you also need to be ready for sub-zero days when it’s more about surviving extremely harsh conditions. Be prepared for race day with a few options. You might already have some of this gear around the house, but it’s a good idea to keep a separate bin for race-day readiness. You don’t want to be looking around for your lucky facemask or a missing glove on race morning.
Jacket and Upper Body
For clothing, you need to have the proper layering to keep your body just at the right temperature. The key is to make it breathable. For the first layer, wear a thermal base layer or something similar that can get your sweat away from your skin. As for the second layer, you can opt to use cotton or the same fabric as your base layer but much thicker. Finally, for the third and final segment, wear something that is windproof like a midweight cycling jacket. By race day, you should have your layering dialed into the right temperature and effort.
Pants and Lower Body
For your legs, stick with the same layering strategy as above. Since your legs will be generating more heat and need more freedom, you won’t need as much. For a base layer, start with a thermal and wicking material. Then layer up with a pair of shell pants that allow good range of motion and doesn’t create friction. Cross-country ski pants work well. For extreme weather, a pair of biking pants will keep you warmer.
Boots
For footwear, warm boots are acceptable. Let’s just make that clear from the start. If you can tolerate riding clipless, and you’re used to popping in and out of them to take turns, then you’re ahead of the game. But you need to be comfortable and protect your toes. It depends on the weather. Look for ankle-high, light-weight waterproof hiking boots. Shimano makes a hearty bike shoe that could work on less extreme days. You can also find cycling boots specifically made for snow biking, like the MXZ303-X and MXZ400 from Lake.
Head Gear & Beanie
A helmet is a given, but have a beanie ready for races when the temperature drops. Look for windproof material, especially around the ears and forehead, and a breathable fabric to let the vapors out.
Facemask, Neck Gaiters, and Ski masks
Protect the face and neck with a facemask and neck warmer of sorts. You’ll be glad you had one when you take that turn around a corner and get slapped across the face by old man winter. If the conditions are extreme, have a ski mask or balaclava ready.
Snow Goggles
Goggles provide another layer of protection for the face, but can also help with the vision and snow blindness. Look for bike goggles with a comfortable fit and anti-fog technology. And be sure to practice riding with them before a race. Some cyclists feel that goggles are too constricting. You’ll have a lot going through your head race day, don’t let the lack of peripheral vision surprise you. It’s just another trade-off, but nice to have in your gear bag. Some rides you’ll need to protect your eyes from blasts of ice and snow, so knowing who’s blowing by you in the race isn’t as important.
Mitts and Gloves
Your fingers will get cold. Be prepared with a few options. You’re looking for water-resistant, windbreaking, and insulated bike gloves or trigger mitts. Of course, the bulkier the glove the warmer it will be, but be sure you can easily switch gears and breaks. You might also consider getting bar mitts or pogies. These attach to your handlebars for easy access to your gears, and can also be a good place to store gels and nutrition. But give yourself time putting these on your bike, some can be tricky.
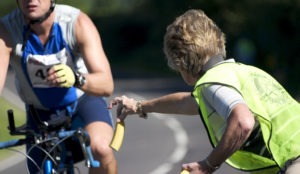
5. Bring Water and Nutrition
Aside from your bike and gear, you also need to bring you water and high-energy foods and gels for your race. Some races do have aid stations, but that should be listed on the race information. For long distant, self-sustained fat bike races, you should consider getting your hands on a hydration pack.
Do research on what fuels you best and test it out at race pace levels before the big day. Some foods might sit well with you at a moderate pace, but when your adrenaline and legs are pumping hard, your homemade energy bars might not agree with you.
6. Practice Turns and How to Fall
Prepare to fall. You might not, but let’s get this out of the way. Really, what you want to do is test your speed around corners, and be prepared to fall. It’s not so bad once you get the hang of it and you will feel more confident taking tighter turns at higher speeds during a race. You also get a feel for handling your bike in a spin. You might be surprised how difficult it is to wipe out. The idea is to know the proper steps and position you need to take once these scenarios happen, so hug the monster. It’s one of the great stories you can share over a fire after the race.
If you want to stick with the pack this spring, consider keeping the flame alive with a good fat bike challenge. Your stationary bike is only getting you so far.


[…] number of self-supported bike races have helped grow the sport. The Colorado Trail Race, which travels through some of the toughest […]