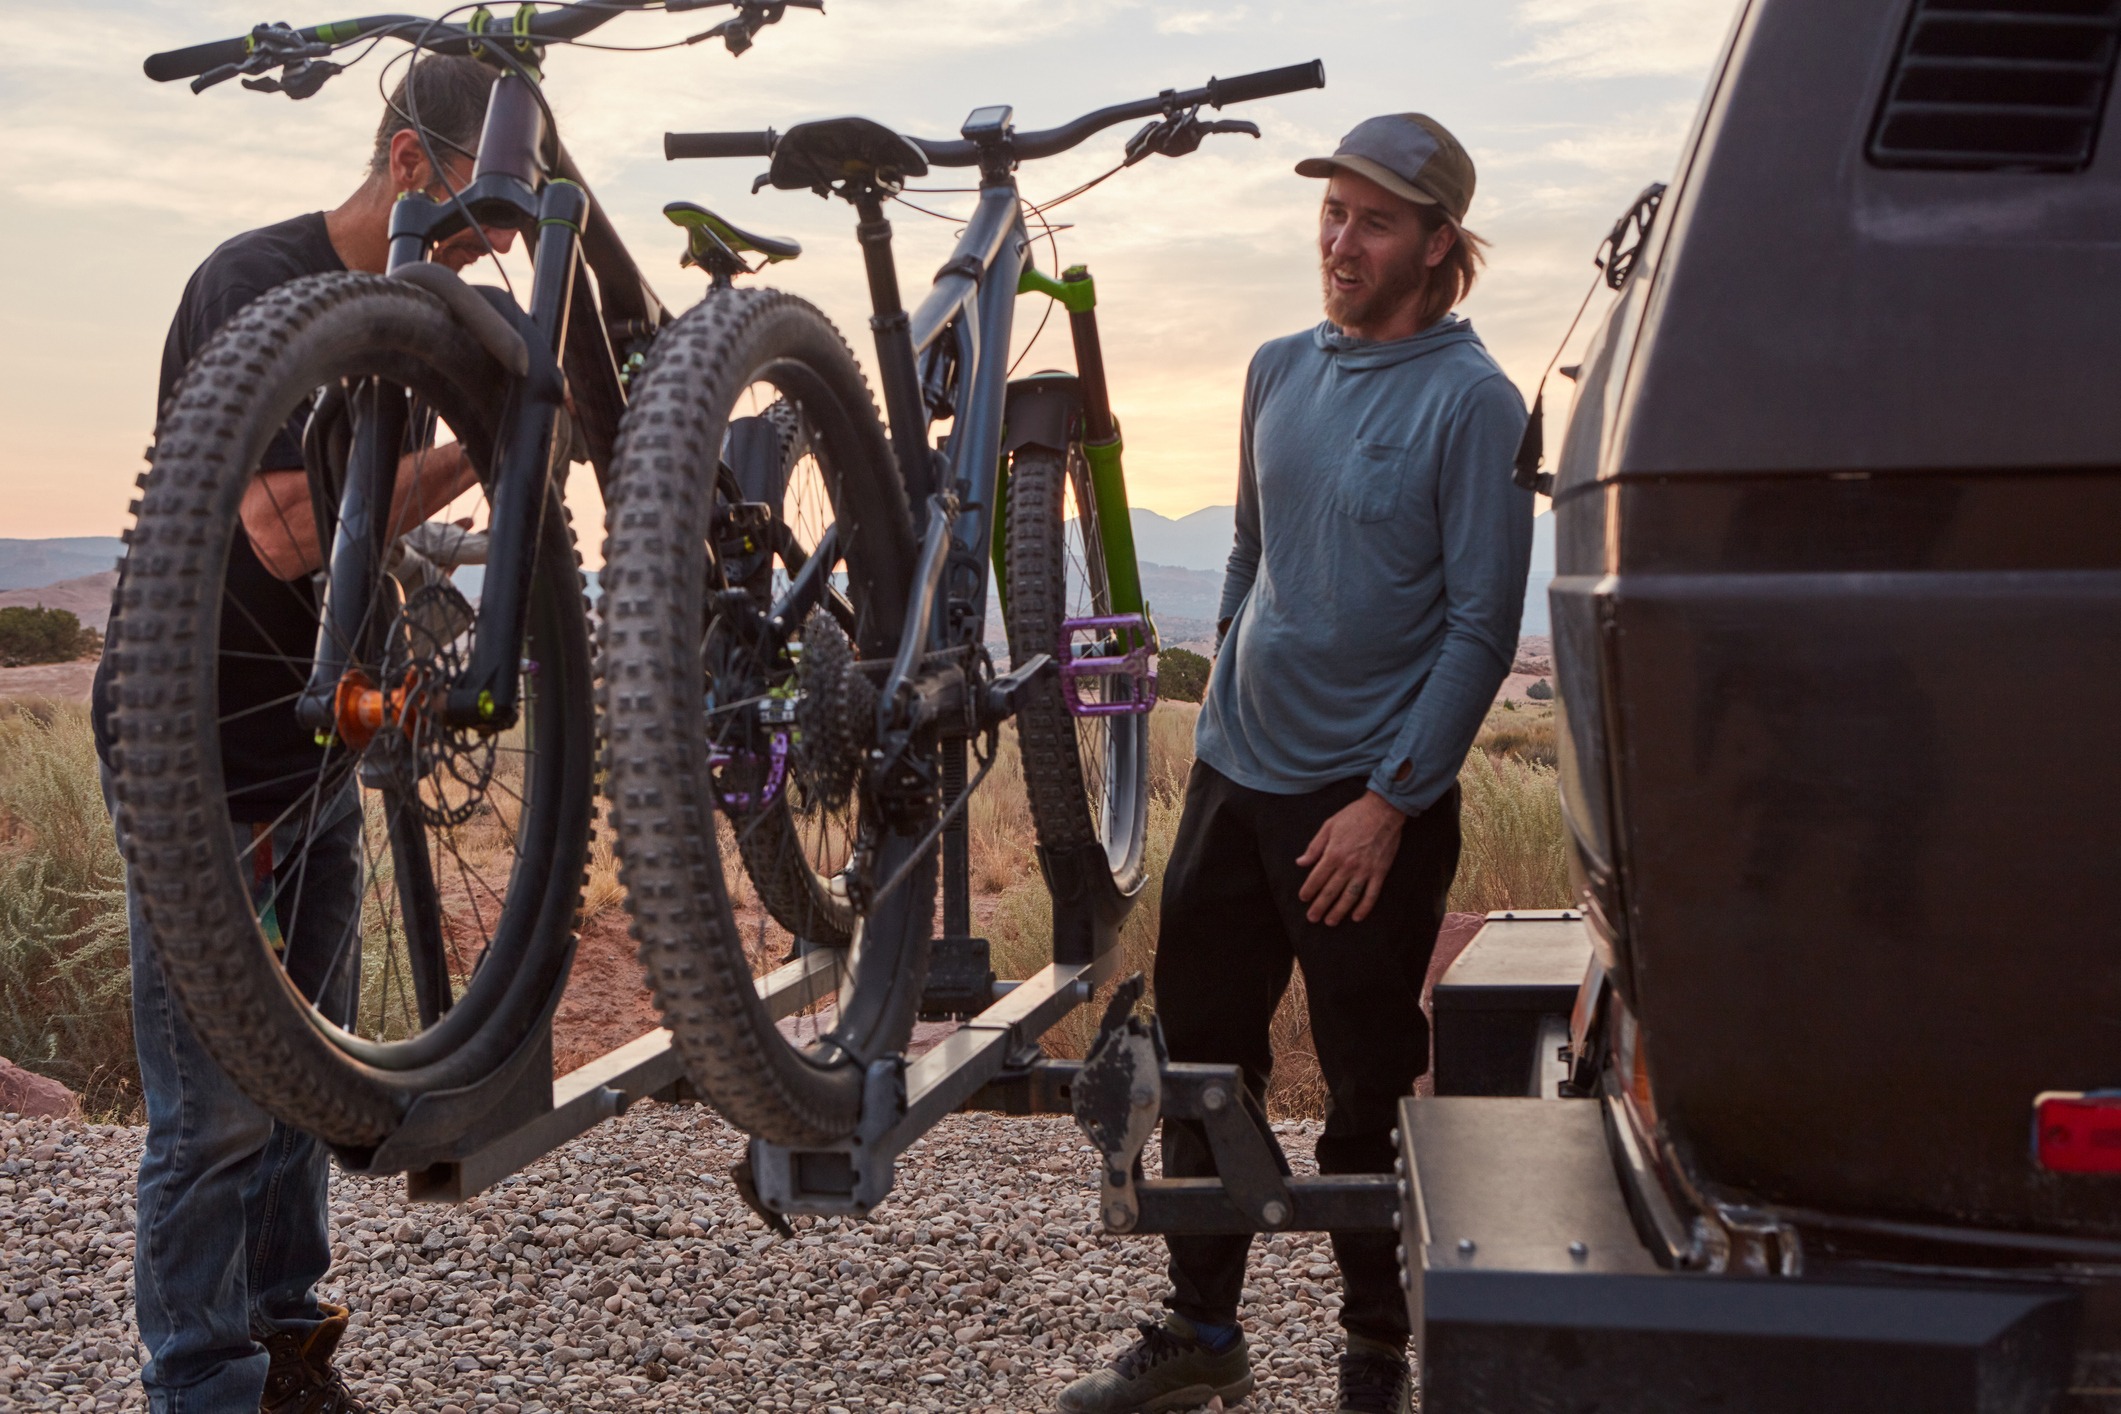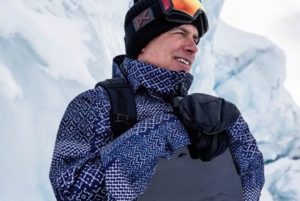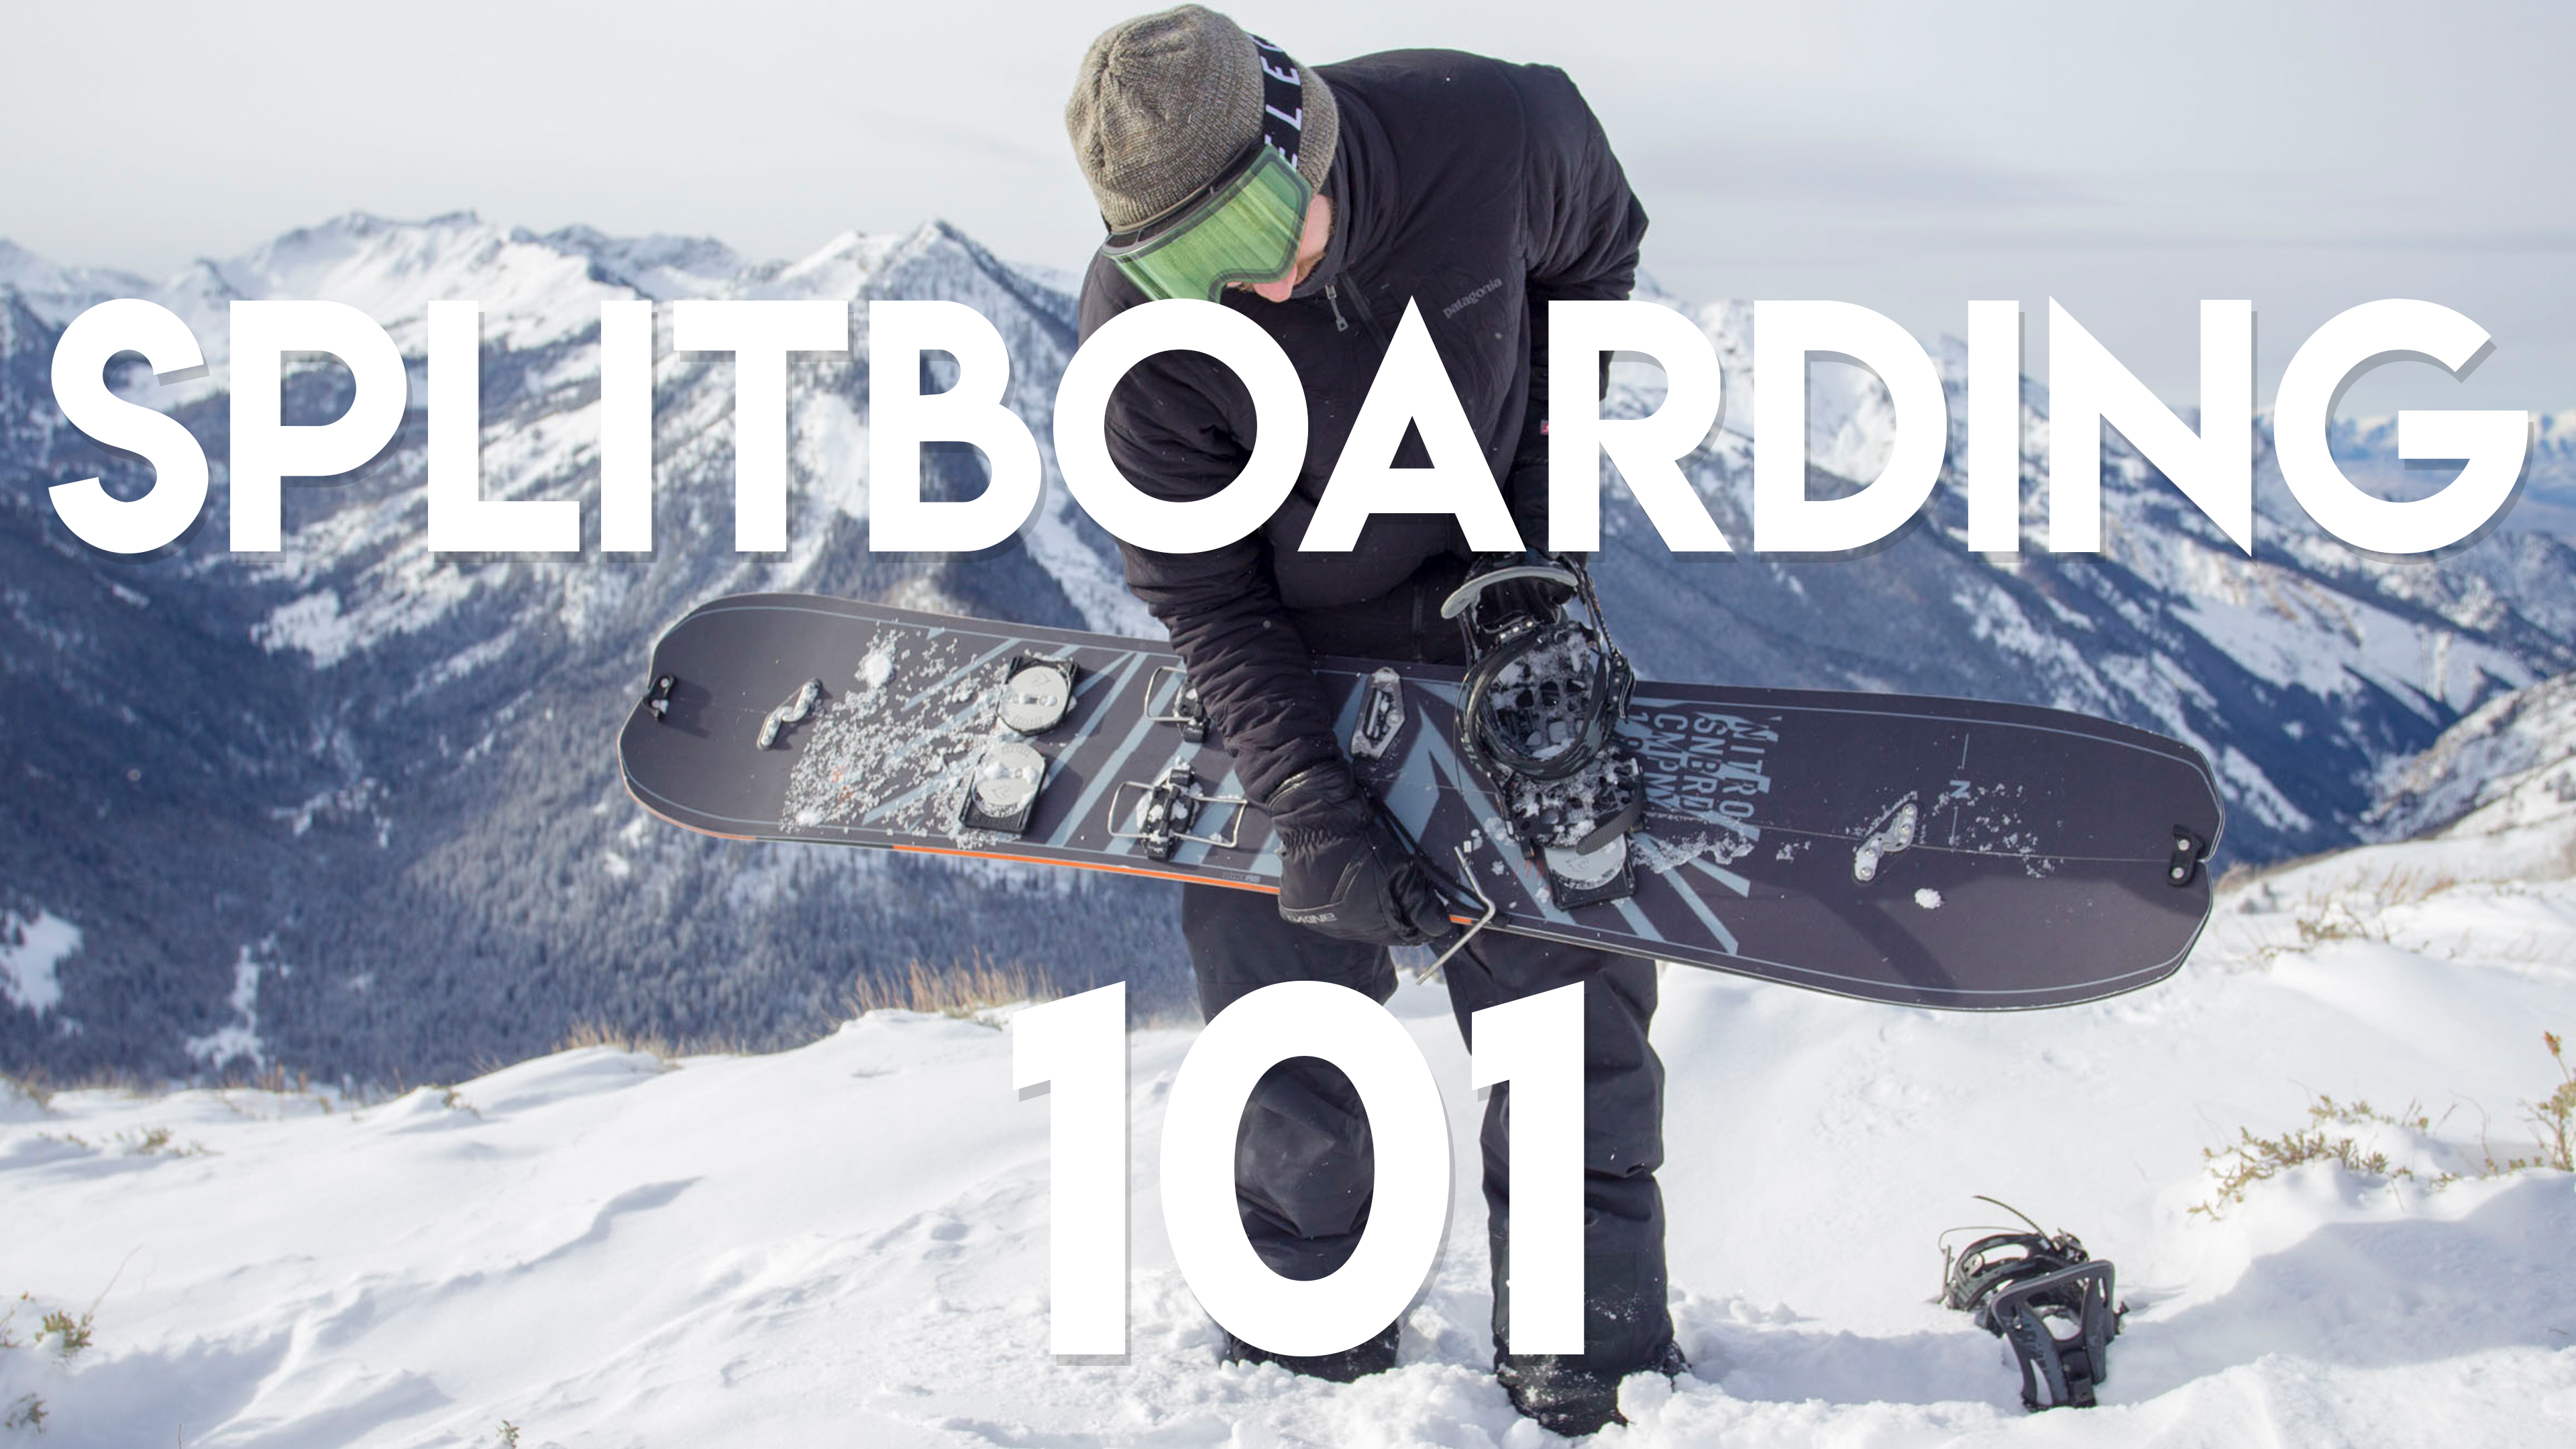
Alright class, eyes up, spit out your gum and pay attention! Welcome to Splitboarding 101 with The House. We’re gonna be tackling a few key facts and information you’re going to want to consider when it comes to buying your first, or maybe even second or third, Splitboard. For those not in the know, Splitboarding is a snowboard that has been cut with a single slice vertically down the center to create two skis. The board is then modified to have binding inserts for a hike mode with added skins for traction under the base so you can ascend to unreachable lines that aren’t within the boundaries of your local resort. Once you’ve reached your destination, this split deck is able to be reassembled into your beloved snowboard and lets you reap the benefits of your hard earned trailblazing efforts.
-Choosing Your Deck-
When it comes to choosing your splitboard, there are a few things you’re going to want to take into consideration before buying. Similar to choosing your normal day to day board, you’re going to want to match your splitboard to your specific height, weight, riding ability, and type of terrain you’re looking to take your board into. Generally, most splitboard specific decks feature a directional shape, tapered tail, and some form of a rocker shape to it to help keep the tail sunk and the nose up in the deeper snow. Keep in mind there is no groomed trail where you are going, so make sure you’re picking a deck that can handle the terrain you’re getting into. Shop our Splitboard selection here!

-Choosing Your Interface System-
Your interface system is what keeps you connected to your splitboard while in touring mode and while riding. In our industry, there are two main systems to use when choosing your interface and those are a Voile Puck System or the Karakoram System. The Voile System consists of four pucks that are attached to the inserts. These pucks allow the bindings to slide into the selected mode you are about to use. In ride mode, the bindings are slid onto the pucks and are locked into place with the pin while in touring mode the same pin creates a pivot like motion to free the heel for longer strides while ascending to your desired location. The Karakoram System is designed to only work with a pair of Karakoram Bindings. The Karakoram system is similar to the Voile system but instead of a puck style mounting, they use four metal plates that join the splitboard together using their bindings lever and pin system. What makes the Karakoram so different from Voile is the heel locking system which is unique to their brand and helps for side-stepping sketchy terrain and skating on flat zones. Browse through our Splitboarding Interface Systems here!

-Choosing Your Bindings-
When it comes to picking out your splitboard bindings, there are a few things to consider. Even though the Voile interface system allows you to use your own traditional snowboard bindings, we would strongly recommend picking up a pair of split specific bindings for a few reasons. Splitboard bindings are designed for backcountry use so they will be more durable and lightweight compared to a regular snowboard binding. These bindings also are manufactured with a lower profile and the high-back construction is appropriated for touring mode. And lastly, splitboard specific bindings are integrated to fit with your specific interface system that will allow you to lock and unlock the heel for a pivot mode while touring. Take a look at our Splitboard Binding Selection here.

-Splitboard Accessories-
This last segment we’re going to cover are a few things that are crucial to your splitboard set up. These key components are definitely tools and parts that you are going to need in order for your set up to perform at the level it needs to. Shop our Splitboard Accessories here!
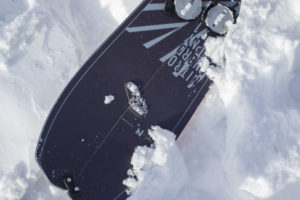
–Climbing Skins: Climbing skins are hands down one of the most important parts of your splitboard setup. Climbing skins are applied to the base of your splitboard and provide traction on snow and slick surfaces to help you make your tour uphill. These skins have a strong adhesive material that sticks to base while the fabric material lays on the underside allowing you to glide across the snow. Climbing skins are attached to the base via the adhesive glue, tip clips and sometimes tail clips. Skins come pre-cut or come as pieces that are trim-able to your specific board shape.
-Tip and Tail clips: Tip and tail clips or “Hooks” are designed to help clip the nose and tail of your board together while in riding mode. These clips add torsional stiffness to the deck while riding so your board can perform at the rate you need when descending down your chosen path. These pieces are usually made from a plastic material and play a huge role in allowing your deck to feel supported and sturdy.
-Crampons: Crampons are a piece that is always a good idea to bring with you on your splitboard trip. Crampons are attached to the touring pivot point and add instant traction control when you hit the last little bit of icy terrain on those tall peaks or hardpacked trails. You’ll never take having crampons for granted.
-Poles: Poles are for skiers! Right?! Well, you may want to consider investing in a pair of these. When tackling steeper terrain, it helps to have some sort of support when your legs are starting to give out only 1/4 of the way into your trip. Make sure to take a look at some collapsible poles for easy transportation.
Last but not least when you are traversing into the backcountry and unmarked territories IT IS ALWAYS IMPORTANT to make sure you are aware of the risks of avalanches and other factors that are not only dangerous but can be life-threatening. We strongly encourage you to take some Avalanche and Backcountry Safety classes before going out on your next adventure so you and your team can remain safe.