So, here’s the story. You have always wanted to snowboard. So, you save up, invest in a board, take a few lessons, and gain confidence! You are linking turns, tackling tough slopes, and learning a few tricks – maybe even hitting up the park.
The more time you spend on the mountain, the more confident you get – you are ready to hit some rails. Everything is sailing smoothly, you are getting the hang of it, then the worst happens! Your precious snowboard takes a beating and needs a repair.
Inevitably, all snowboards will take some damage, this can range from dings in the base, a damaged sidewall, or a delaminating top sheet. With a little creativity and the right tools, most things regarding the base can be repaired. If you are not sure where to start, whether it is possible, or think it is not worth it, consider visiting your local shop for advice or help with the repair. Remember to be realistic, if your snowboard is split in half – RIP – it is time or a new one.
Identifying the Damage
If the scratch or gouge is exclusively in the base of the board, the good news is, you will likely be able to fix this yourself. However, if the gouge is not deep, there is no need to fuss with fixing it! If you can see the core of the board or the edge was affected, this is not something you should fix yourself. Bring your board into a local shop that does repairs.
If the damage is to the point of a piece missing or an edge split, you will also want to visit a professional for this. Be kind to your local shop! If they can repair it, they will, understand that sometimes the board is beyond repair and the reason a tech will not fix it is because it will never ride the same. Start up a conversation with your tech, they may have some repair tips that you can use in the future.
Have the Right Tools
For damage that can be repaired at home, some essentials to consider are:
- A clamp to hold it down
- Base cleaner
- Rubbing alcohol
- Clean towels
- Scraper
- P-tex repair candle
- Lighter
- Wire brush
- Razor blade
The tools mentioned above are essential tools for snowboard repair.
Other honorable mentions are an all-temperature snowboard wax or simplify by getting a tuning kit (which will include things like wax, Ptex, pocket stone, metal scraper, cleaning brush, scuff pad, a file, a wax scraper, and some tuning tips).
Understanding Damage
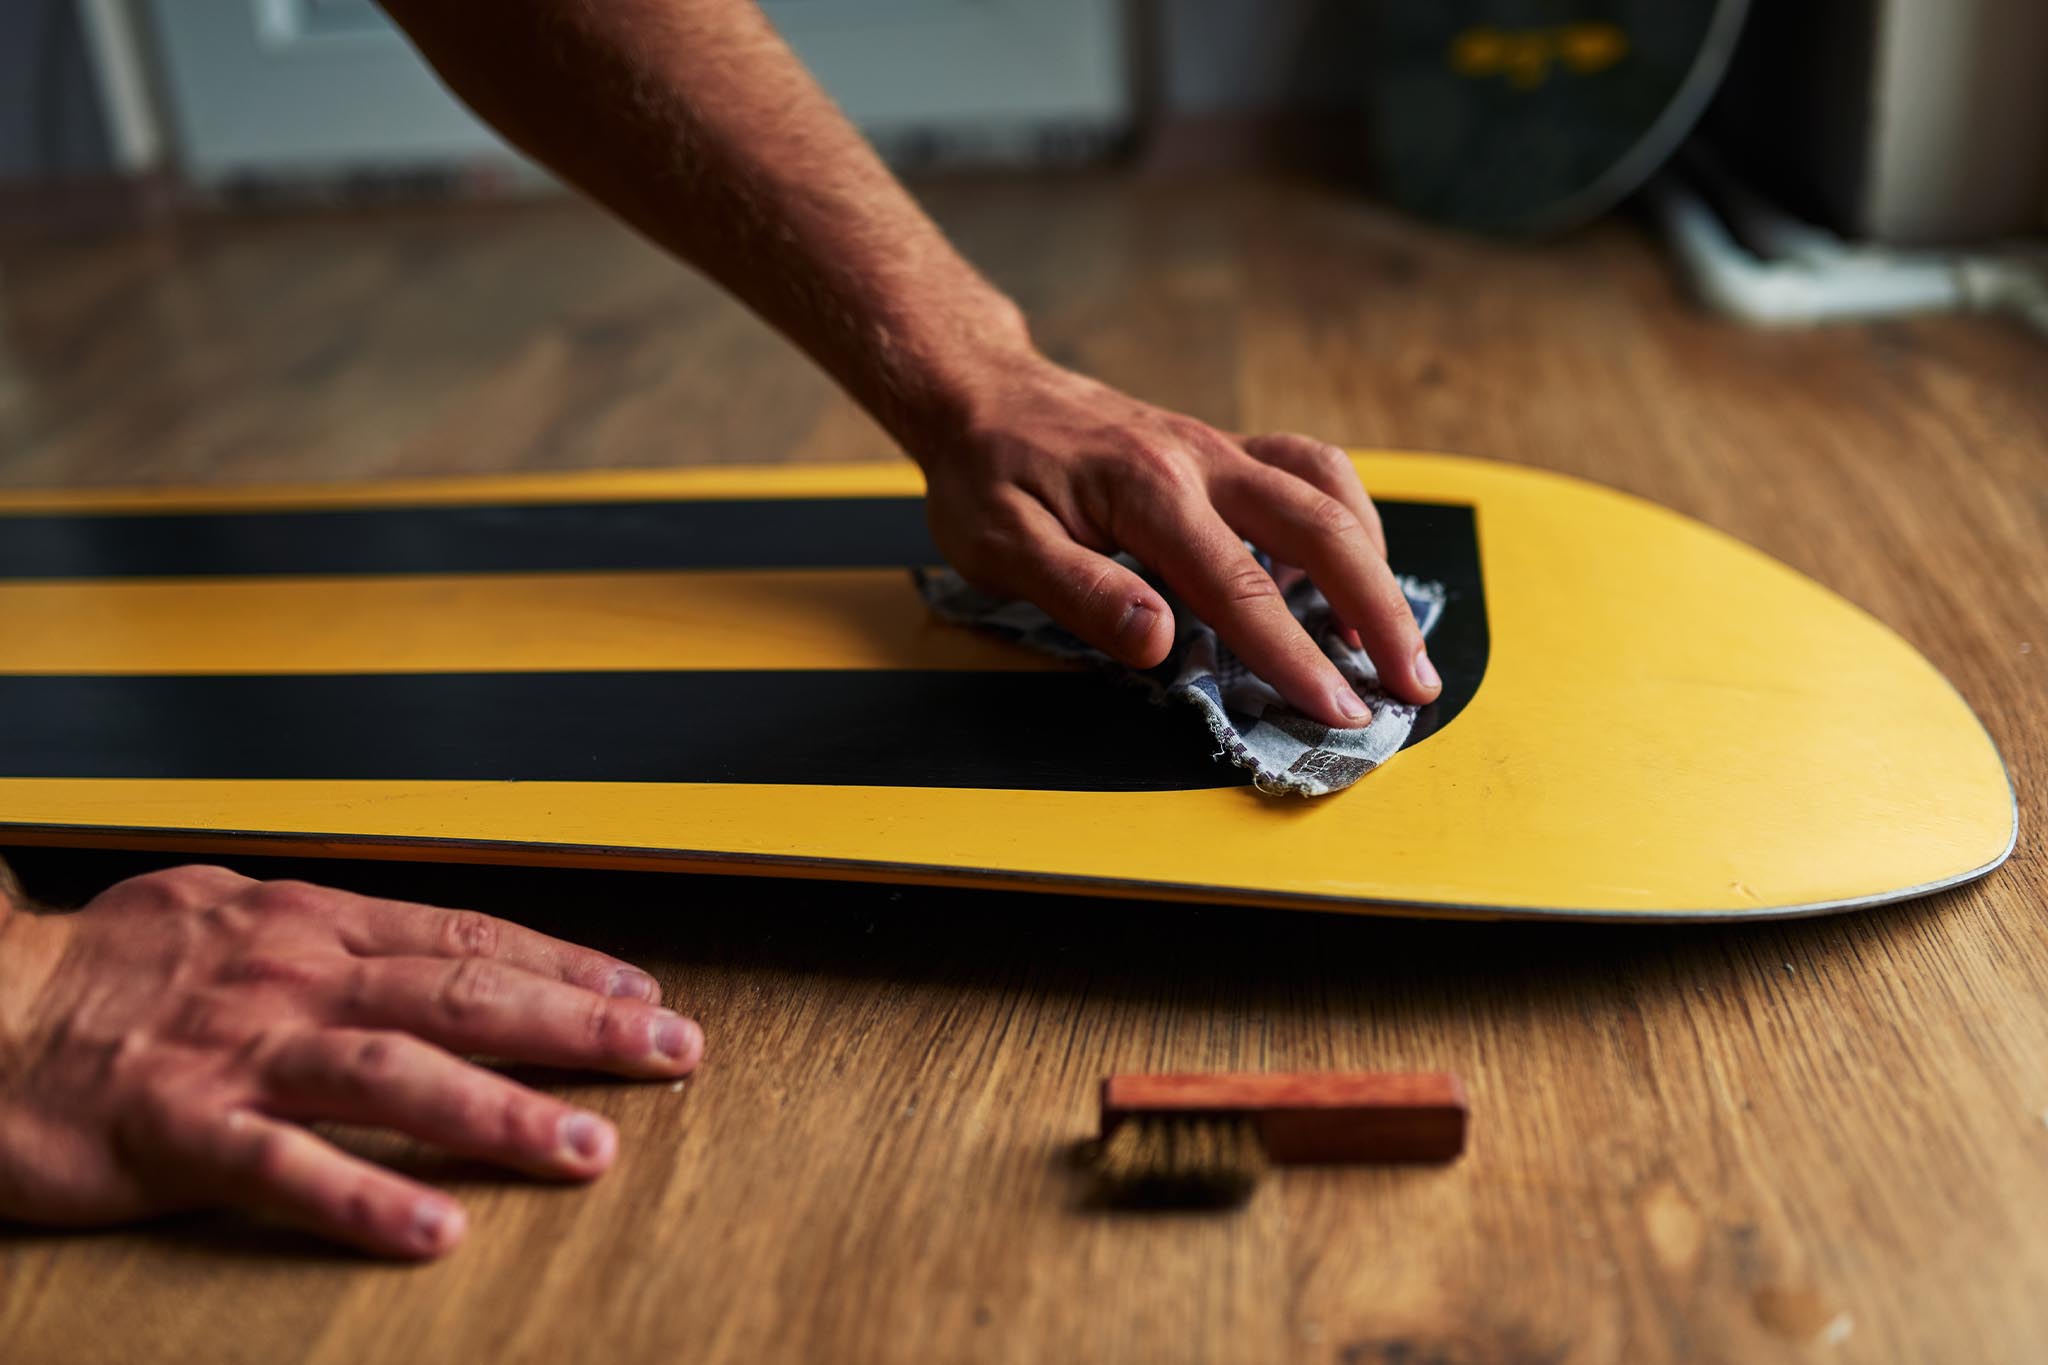
Now that you have what you need, it is time for the dirty work. Stabilize your snowboard into a clamp, if you do not have this, prop it up in a sturdy fashion that works well as a work spot.
It is recommended that you remove the high spots around the damage with a metal scraper or a single edge razor blade to even out the area. After you are done with this, give your base a solid clean with base cleaner, and let it dry. Now, use rubbing alcohol and a towel to make sure there is no residue near the damage.
To begin fixing the damage, bring your lighter to the p-tex candle and let it melt into the area. As it cools, the p-tex will reduce in size, so the wax should overlap the area around the damage. Before the next steps, let the p-tex fully dry. If it does not seem like the damage is filled, go back over it again. Once you are satisfied with the results, allow it to dry fully (15-20 minutes).
Next, using quick balanced movements, go over the area with your metal scraper. When the area looks level and smooth, you are all done! Give your board a bit of TLC and a solid wax, and you are good as new.
Once again, if you are not satisfied with the results, do not be afraid to bring it into a tech. The last thing you want is to think you nailed it and be disappointed the moment you hit the snow on your next outing. You never know, you may get some sage advice from these experts and learn more about how to properly maintain and repair your snowboard!
You just never know, learning to repair your snowboard yourself may come in handy time and time again – making it an investment! So, save yourself some cash and learn the tricks of the trade.