Choosing a BMX bike can seem like a daunting task at first. There are tons of models and designs to choose from, and without proper knowledge, you may find yourself in a sea of bikes with no direction. To help prevent this, we’ve created a beginners guide to shopping for BMX bikes. Below are the things you should know and look for.
Know Your Budget
Perhaps the most important thing to know is your budget. It’s not worth your time to fall in love with a $1,200 bike if you can’t afford it. The great news is that there are plenty of excellent bikes at many different price points. From starter bikes to professional builds, you can always find something within your price range. That being said, it’s important not to sell yourself short and settle for a sub-par ride just to save a few bucks. Know your budget and maximize it. Hopefully, the rest of these tips will help you do just that!
Know Your Skill-level
Listen, if you’re not a pro, that’s okay. We all start somewhere and it’s important to be honest about that. You don’t want to invest in a pro-model bike without first knowing if you can ride it or even enjoy the sport. Conversely, if you have been riding for years, you’re going to want something more.

Know Your Style
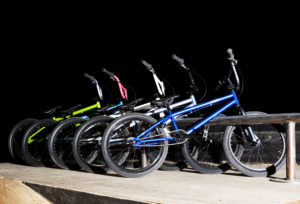
There are a handful of distinct riding styles in BMX. Each style has unique frame geometry, parts and materials to enhance that particular aspect of BMX. While some bikes can be used interchangeably, others are designed specifically for one riding style. Make sure you know what kind of riding you want to do before you look for bikes.
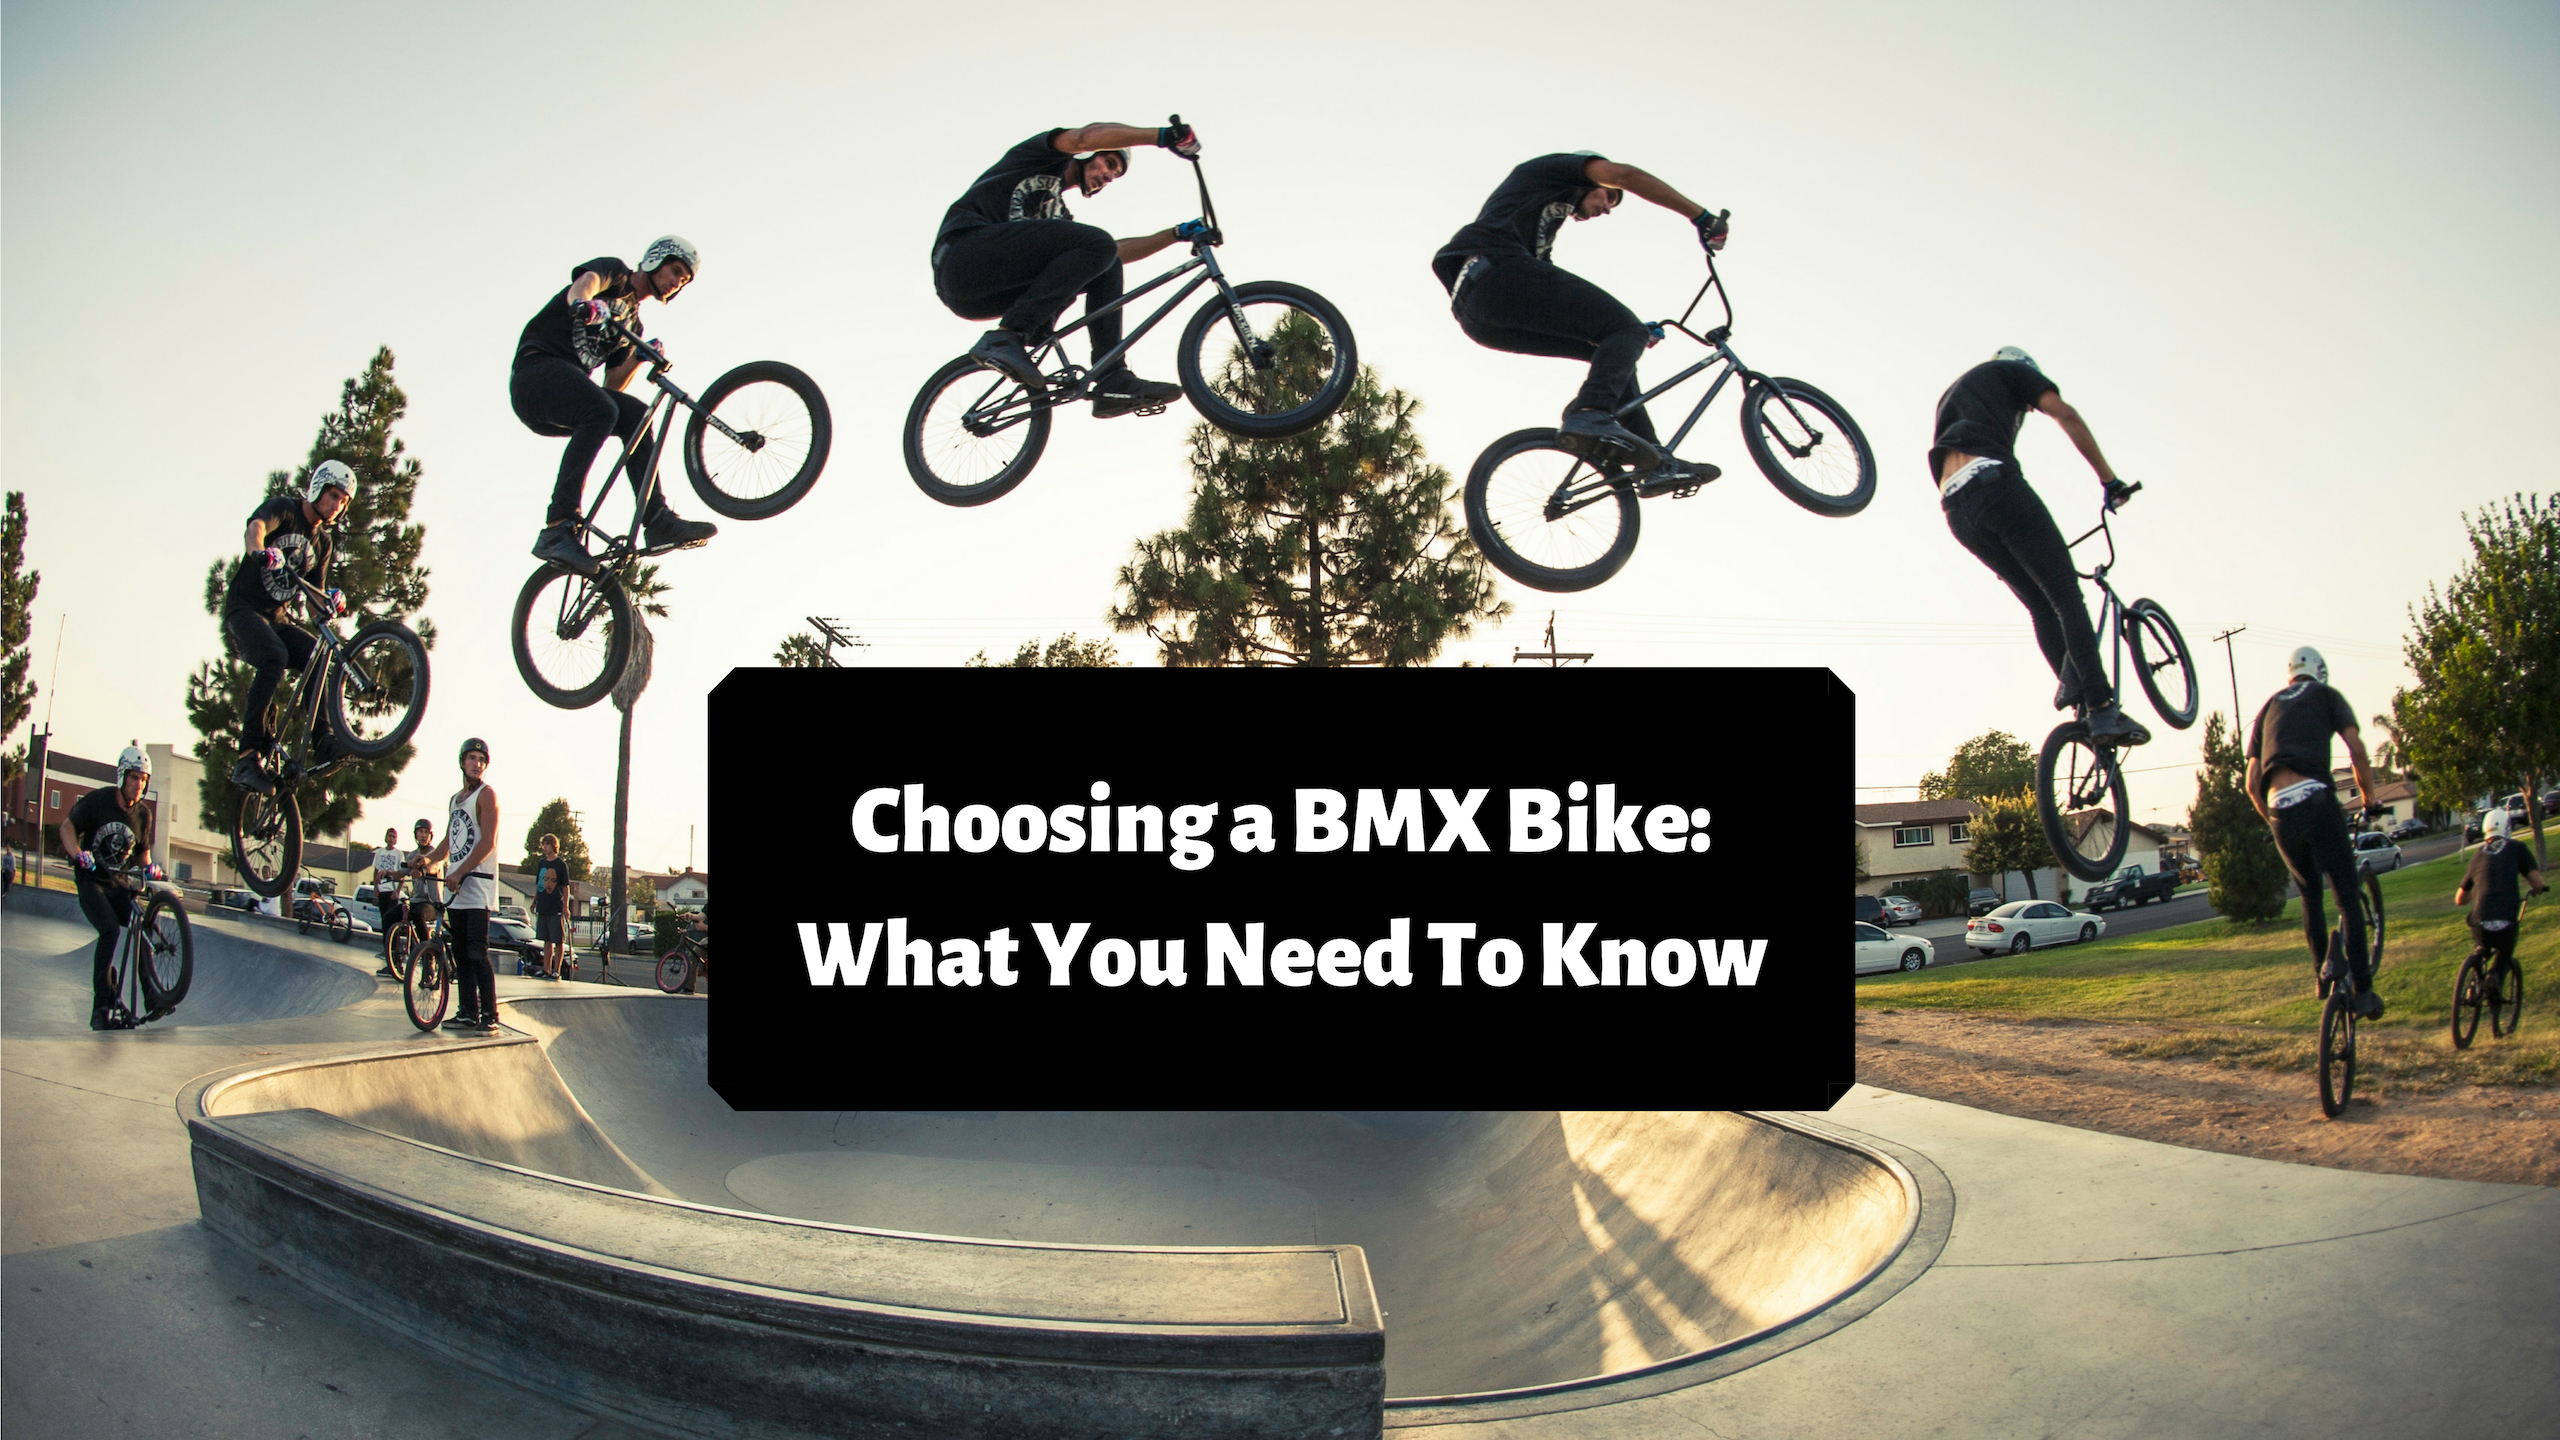
Park: Park riding refers to any riding done in a skatepark. Unsurprisingly, skateparks are often shared or dominated by BMX riders. This can also refer to BMX specific parks often called “Ramps.”
Street: This is when a rider uses urban infrastructure as their playground. Finding the best rails and banks around town is half the fun!
Flatland: One of my personal favorites, Flatland riding is when it’s just the rider and bike on a smooth stretch of pavement. It uses no external features and is, in its purest form, much like a dance.
Trails/Dirt Jumping: This is all about getting big air on massive dirt jumps and berms. These bikes are made to handle the impact and off-road conditions.
Race: These bikes are built for racing on hard-packed dirt courses with undulating terrain. They typically have narrower geometry and are made from lighter materials. Because of this, they shouldn’t be used for any of the other styles of riding. We won’t stop you from trying though.
Materials
BMX bike frames are made using a variety of materials that have different pros and cons. Unsurprisingly, higher quality materials fetch higher prices and vice versa.
Chromoly: Chromoly is the best all-around metal for frames, forks and bars. It’s a strong and lightweight metal alloy that is very durable. The best feature about it is that it can be easily butted. This means that tubes can be made thinner in the middle and thicker as you reach either end to cut down on weight. In my opinion, Chromoly is what you should look for.
Steel (High-Tensile): Also known as Hi-Ten Steel, this material is one of the most durable out there. The sacrifice for its durability is weight. They tend to be heavier, but the plus-side here is that they are also the most affordable so it’s not a bad place to start.
Aluminum: This is the way to go if you’re a racer and want something very lightweight. It is less durable overall and can’t take the beating that steel or Chromoly can, but it will certainly have you flying.
Carbon: Carbon is still somewhat rare in BMX bikes. You might find a carbon fork or racing frame, but they aren’t nearly as common as the other three materials. Part of this is because it is very expensive. That being said, it is extremely strong and durable, and offers great vibration dampening.
Small and Brand Parts
Shopping for a BMX bike can get technical when you start investigating the nitty-gritty of bike parts. A great place to start is to look for brand name parts from manufacturers like Framed, The Shadow Conspiracy, ODI., Odyssey and others. As opposed to generic parts, these are generally more durable and lighter.
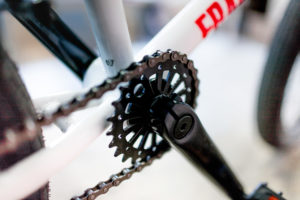
Similarly, it’s good to look for smaller parts when shopping for a new BMX bike. Smaller parts use less metal which means fewer things to get in the way of your riding and less weight overall. A good place to start is going from a 45-tooth sprocket to a 25- or 28-tooth sprocket.
Sealed Bearings vs Unsealed
Sealed bearings are typical bearings but fitted with a protective seal that keeps moisture from getting inside and damaging them. Unsealed bearings are prone to weather damage and, while much cheaper, require more maintenance. Having sealed bearings in the wheels, bottom brackets and headsets will ensure your new ride moves fluidly all year long.
Sizing
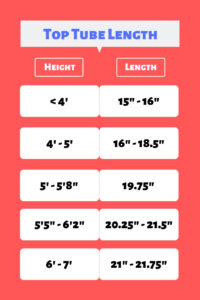
It’s imperative that you find the right size bike otherwise you risk nagging discomfort and potential injury. For starters, you’ll want to find the right top tube length. This will ensure you have enough leg room between the seat and shoulder bars. It’s all based on height, so the taller you are the longer top tube you’ll want. If you can, always try out the bikes in the parking lot to make sure they are comfortable. Below is a diagram to help provide an estimate of what top tube length to look for.
Wheel sizes explained – What’s Right For Me?
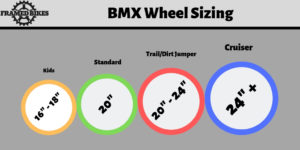
Next, you want to make sure you have the right size BMX wheels for both your body and the type of riding you want to do. Freestyle bikes tend to have smaller wheels than cruisers, for example. As with anything, it ultimately comes down to what you like the most. Make sure to try it out and go with what feels best.
One Final Note
If you order the bike and have it shipped to your home, it isn’t going to be fully assembled yet. You will need to put on the pedals, handlebars, front wheel and set up the brakes. If you’ve never built one yourself, we highly recommend taking it to your local shop and having it professionally done. If you don’t do it properly, you risk hurting the bike and more importantly, yourself! With this knowledge in hand, you can start searching for the perfect bike to get you riding this season.
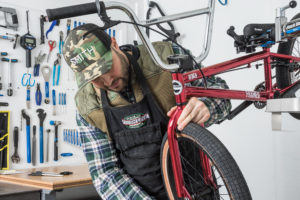
NOTE: All bikes are sold and delivered partially assembled. Final assembly should be done by a certified bike technician. Failure to have the bike assembled by a certified bike technician may void the warranty and could result in damage and/or injury if not assembled correctly.
Photos by Stephan Jende