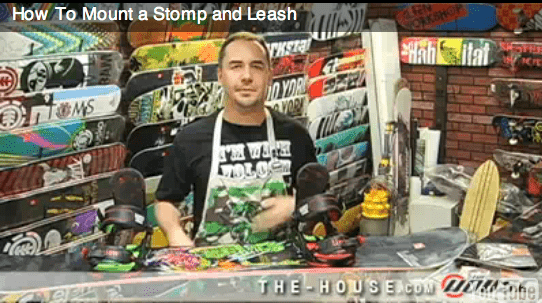
Leashes and a stomp pads are not essential to every snowboarder but they can be very beneficial, and to mount them on the board is very simple. A leash’s purpose is to attach the rider to the board just in case the board should come detached from the rider.The leash will prevent the board from sliding downhill without the rider, but the board detaching from a rider like this is very rare. There are many variations of leashes but most will attach to the binding and have a clasp that attaches to the boot laces. Some will attach to the board and wrap around the leg and yet others will attach to the board and the boot and have a clasp in the middle of the strap.
To attach the leash to the binding, loop the end through the adjustment holes of either one of the straps, or some bindings will have openings in the baseplate that the leash can be looped through. When attaching the leash to the boot it is important to clip it to the section of laces that are not going to be underneath the straps of the bindings. The best area would be between the ankle and toe strap.
Leashes are rarely ever actually put to use. In the extreme cases where the board would become detached from the rider’s feet it is most likely that the boot and binding would rip out of the board. Since it is the binding and the boot that are attached and not the board, the leash really doesn’t serve any purpose. It is because of this that many ski resorts don’t require leashes any more. But it is a good idea to at least carry one in your pocket on the off chance that you should come to a hill or lift operator that will still require them.
A stomp pad’s purpose is to create more grip for the rider when the rear foot is out of the binding. Most of its use will be at the bottom of the lift and getting off. It can also be used for any one footed freestyle tricks so that the foot won’t slip off the top of the board when trying to maneuver it. The stomp pad will be placed just in front of the rear binding so that the foot will be able to rest against the outside of the binding which will also create more control and stability when not strapped in.
To mount the stomp pad on the board make sure that the board surface is clean and dry. The board should be at room temperature or possibly even heat it up with a hair dryer. The back, adhesive side, of the stomp pad should also be heated before mounting it on the board. This heat is going to activate the adhesive and create a better bond between the stomp pad and the board. The stomp pad should be positioned within about an inch from the rear binding. Start with one corner of the stomp pad and roll it onto the board. Once the stomp pad is on, press it down as hard as possible and try to remove any air bubbles. Let the adhesive dry anywhere from 12 to 24 hours.
Shop The House for stomp pads and leashes.