Cleaning your bike isn’t a luxury, It’s a necessity. Firstly, it just works better, and secondly, you’ll be able to spot any possible problems with your bike before they get out of hand — you can even clean your bike and do a bike tune up all in the same day.
With all its fine moving parts and components, cleaning your bike is not as simple as just soaping down your bike and washing it off. Many of those parts require grease or lubricants, so you can put that high-pressure hose down. Also be sure to have enough time to lubricate your bike after you clean it. It’s part of the bike cleaning routine.
If you’re new to all of this, don’t run away just yet! Once you obtain the necessary materials and set up your bike cleaning area, it will quickly become an easy routine.
In this article, we’ll explain how to clean a bike in just 8 basic steps. After you get the hang of things, you’ll be able to complete the whole process in just 15 minutes or so.
1. Set up your work area and materials
You need:
• two buckets of soapy water
• at least 2 clean sponges (old dish sponges will work)
• bottle brushes
• scrub brushes
• a big soft square-head brush for your wheels
• clean rags
• a hose
• dish soap
• degreaser
Using a workstand will make it much easier on your back and allow you to reach all of the parts of your bike. If you don’t have a workstand, you can also suspend it over a taut clothesline. Don’t have a clothesline either? Okay, try to MacGyver another setup to get your bike off the ground.
You can also remove your wheels before cleaning.
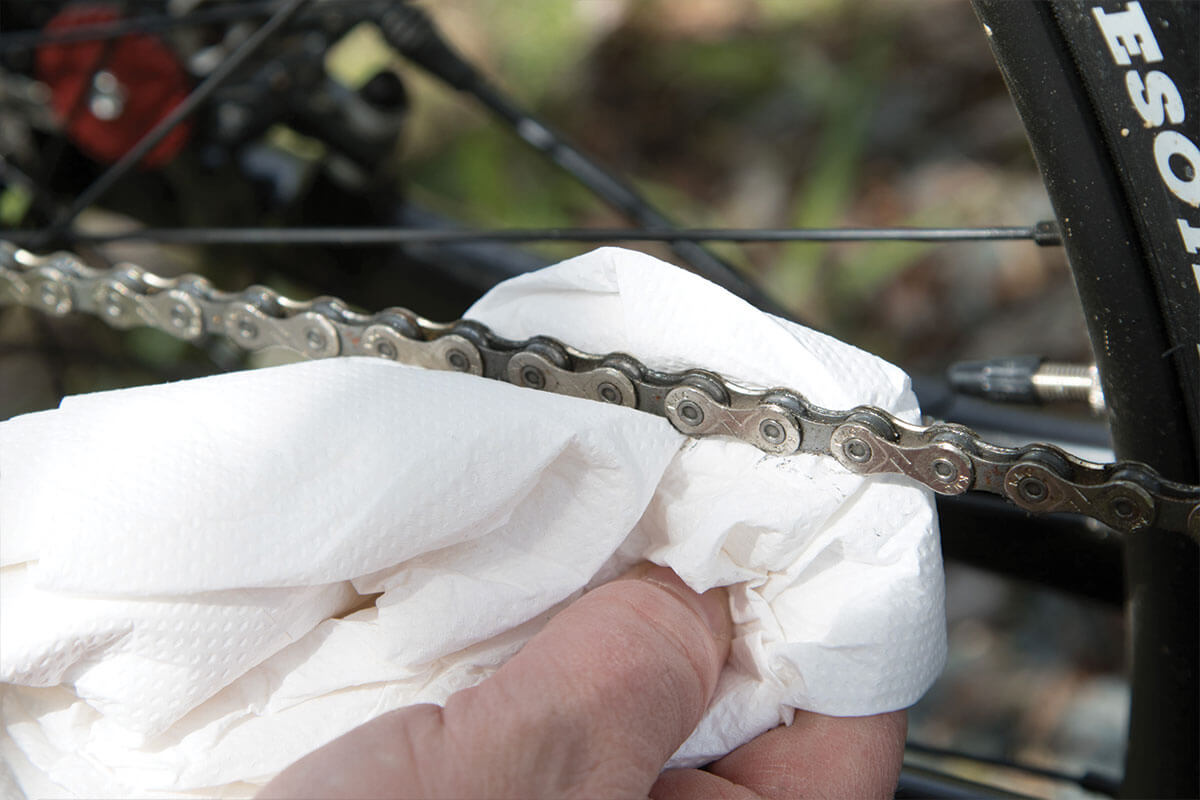
2. Cleaning a bike chain
Cleaning a bike chain is one of the most vital steps of caring for your bike, since it has to stay lubricated in order to work properly. If you’ve ever tried to ride a bike with a horribly rusted-out chain, you know what we mean.
To clean a bike chain, first apply a degreaser. Turn the cranks backward, allowing the degreaser to get on every link of the chain. Let the degreaser sit on the chain for 5-10 minutes — you can go inside and relax while you wait. Then come back and gently rinse the chain with water.
If the chain is extra grimy and needs something extra, you can apply small drops of dish soap and grip the chain inside a rough sponge. Keep the sponge steady while you rotate the cranks several times. Then rinse again.
In addition to lubricating your bike chain during every wash, you should also lubricate your chain whenever it squeaks or appears to be dry. If your bike frequently gets wet, lubing it more often will prevent it from getting rusty.
You can also buy a chain-cleaning device for exceptionally dirty chains.
If your bike chain needs replacing, check out our selection of chains.
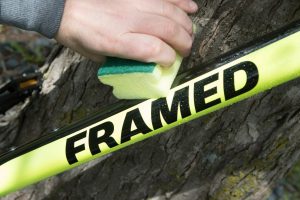
3. Washing a bike frame
Next up is the frame itself.
First, hose your bike down with a low stream of water, or dip one of your sponges in a bucket full of soapy water and squeeze it all over the bike. Again, you don’t want to use a high-powered hose on your bike frame.
Let the water sit for a bit before you touch the bike with your sponge. This allows the dirt to loosen a bit and prevents scratching the paint.
Then use a clean sponge to clean the bike, working from top to bottom. Avoid using a rough or abrasive sponge on your frame, since you’re likely to mess up the paint.
Afterward, rinse your bike with clean, non-soapy water.
4. Cleaning a drivetrain
Follow the same process as for the frame, but use a separate sponge to prevent the grime and grease from the drivetrain from spreading to the frame. You should also use a separate bucket of soapy water.
It’s also a good idea to use a stiff brush dipped in soapy water to clean the chainrings and the various crevices around the teeth, pulleys and rings. You can use a thin screwdriver to dislodge any major build-ups or deposits, then continue cleaning with the sponge as usual.
Afterward, rinse again with clean water.
5. Scrubbing your wheels
Lastly, you’ll want to clean your wheels. You can use a bigger, softer brush here, so you’ll be able to quickly go over the surface of the wheels without having to worry about every nook and cranny individually.
For the wheels, you can use the same bucket of soapy water that you used for the frame. Start at the valve and then scrub all the way around the wheel. Don’t forget to scrub the spokes and the hub of the wheel as well. Flip the wheel over and repeat.
6. Taking care of your brakes
Different types of brakes require slightly different procedures.
For disc brakes (common on mountain bikes), you can use the soft side of a (new, clean) sponge, dip it in soapy water, and clean the rotors while cleaning your wheels.
For standard rim brakes (common on road bikes), use the abrasive side of a sponge and clean the brake pads while cleaning the frame. Rubbing alcohol or lighter fluid can help remove any rubber deposits.
Lubricating a bike doesn’t end with your chain — you should also lubricate your brake and derailleur levers, cables and assemblies, while being careful to keep the lubricant away from the brake pads.
Need replacements? Check out our bike brakes.
7. Give your bike some TLC
Different specific steps are necessary for different types of frames, as well as for different riding routines. You will likely need to individualize your bike cleaning routine a bit depending on how often you ride your bike, how often it gets wet and/or muddy, and the starting condition of your parts.
Cleaning your bike is the perfect time to inspect it for any wear and tear. Being aware of the state of your bicycle’s many moving parts will far lessen the chance that you’ll be surprised by a sudden squeaking chain or worn-out wheel.
Taking your bike in for an occasional bike tune up will further ensure that your bike stays ready for the road or trail, but you can also complete a bike tune up yourself after cleaning.
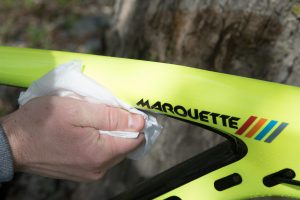
8. Finish up
After cleaning your bicycle, reattach the wheels and dry your bike with a dry cloth. You can also pat it dry and let it air-dry in the sun to save some time.
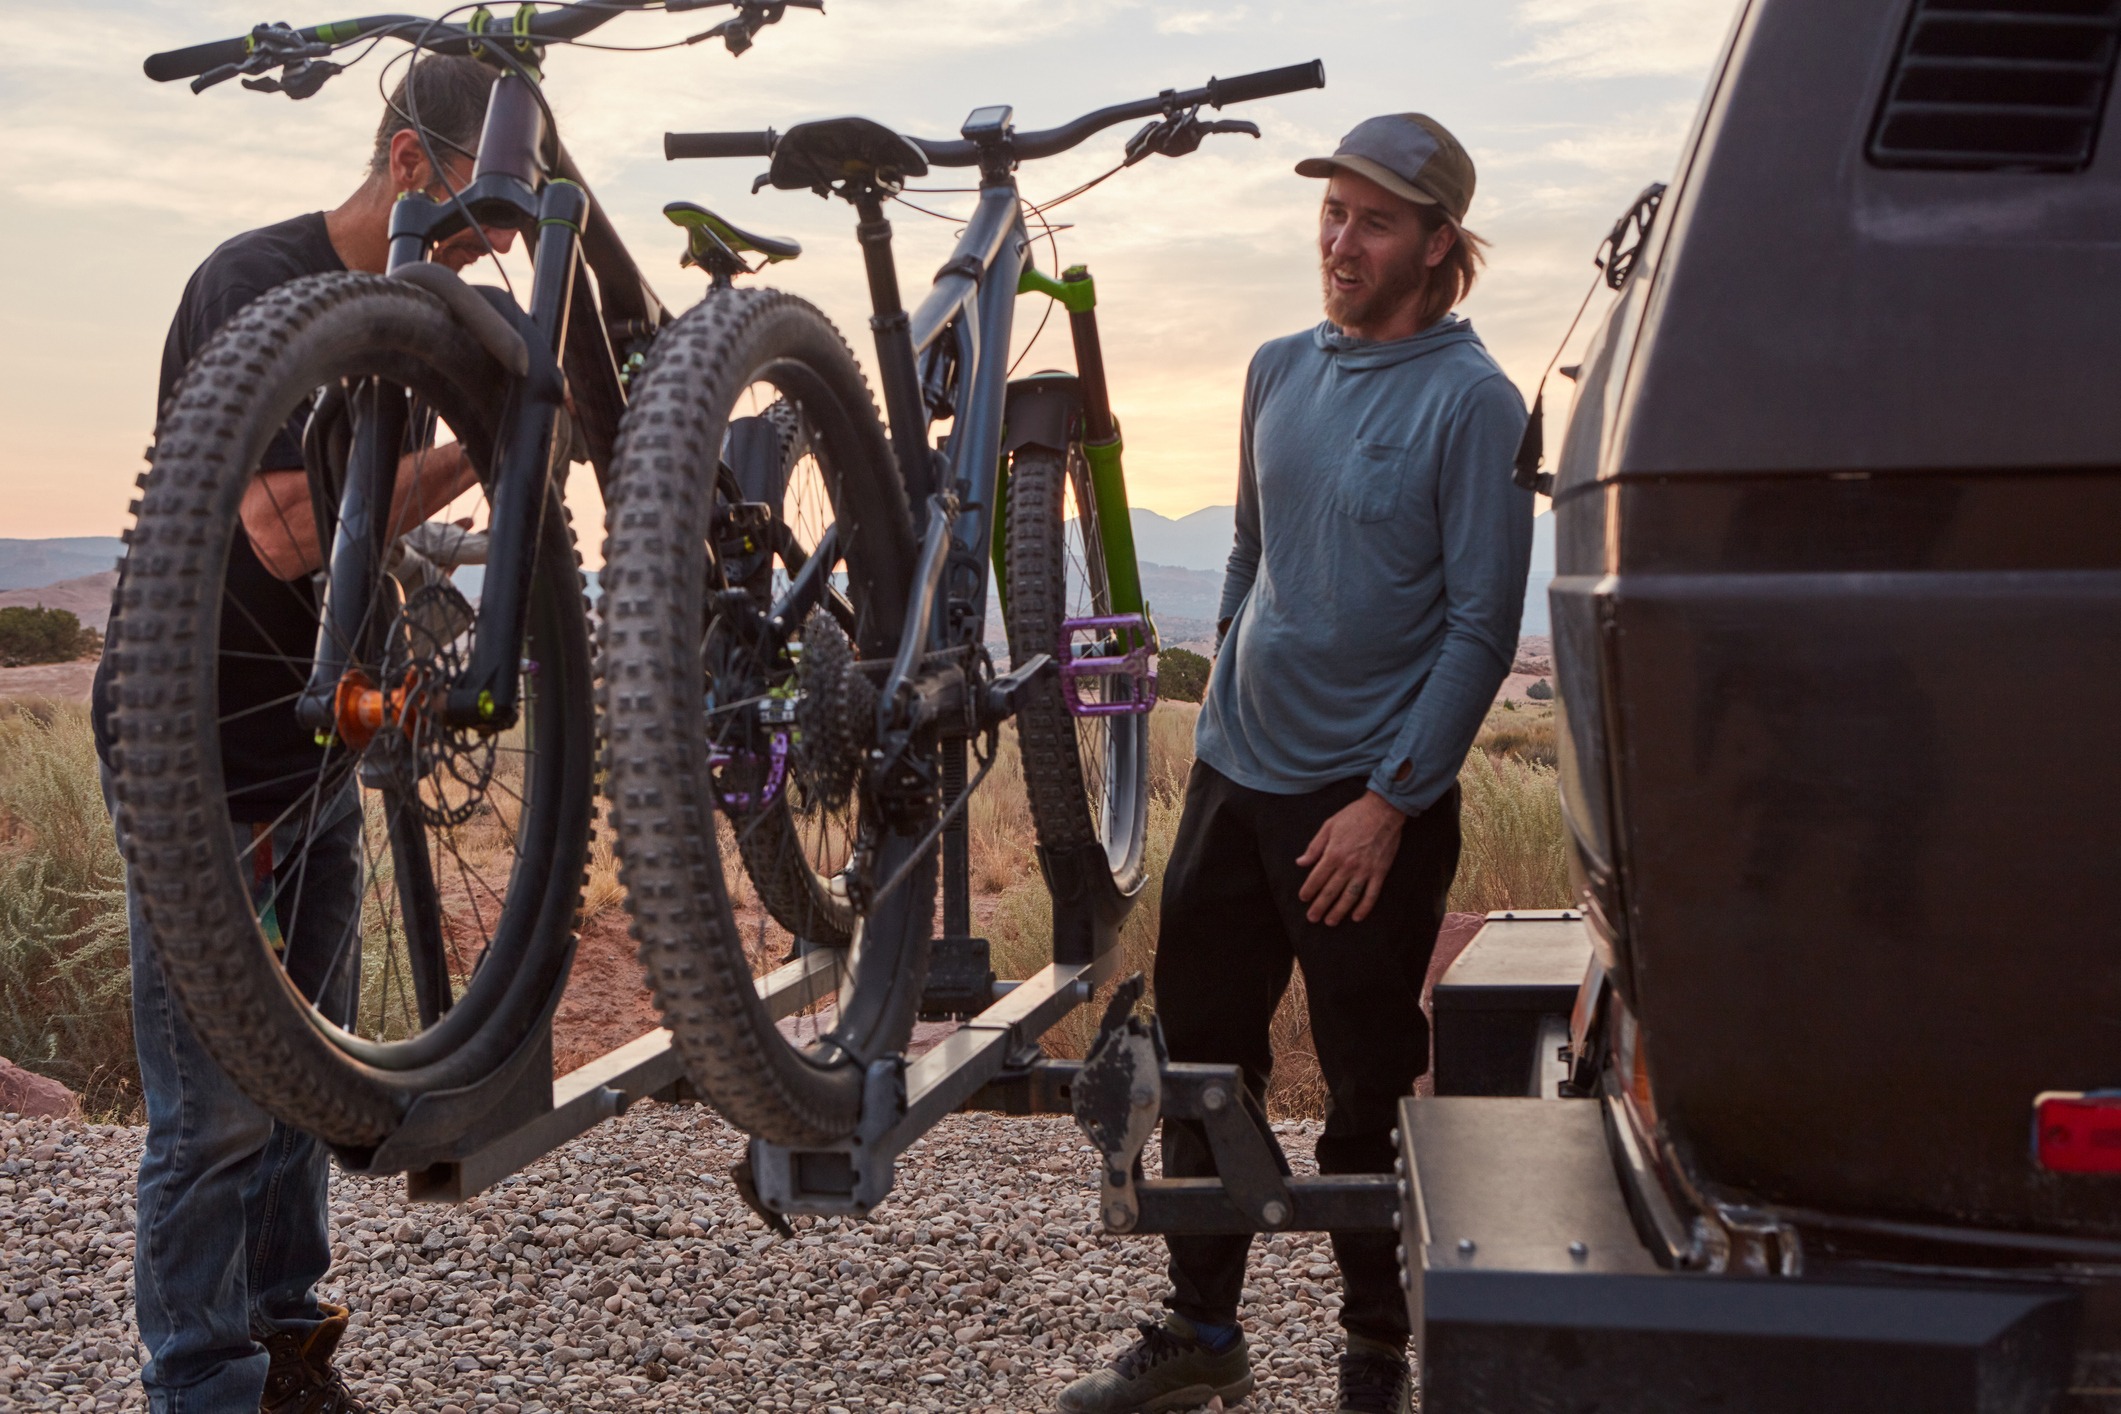
You’re done!
Congratulations — you now have a clean bike. Pat yourself on the back, have a cold one, and take your spotless bike out for a spin.
Now that you know how to clean a bike, there’s no excuse for letting your bike go into a state of disrepair. The materials necessary for bike washing are not costly, and they pay for themselves by keeping your bike parts usable for longer.
Shop The House for Bike Parts.


My bearings have just been cleaned and re-greased. How often should you perform this activity? Thanks for sharing 🙂